Adobe Illustrator CS5, while no longer the newest kid on the block, remains a powerful tool for vector graphics creation. Among its many features, the Pen Tool stands out as the key to unlocking precise drawing and sophisticated designs. Whether you’re a budding artist or a seasoned designer, mastering this tool can significantly elevate your creative capabilities.
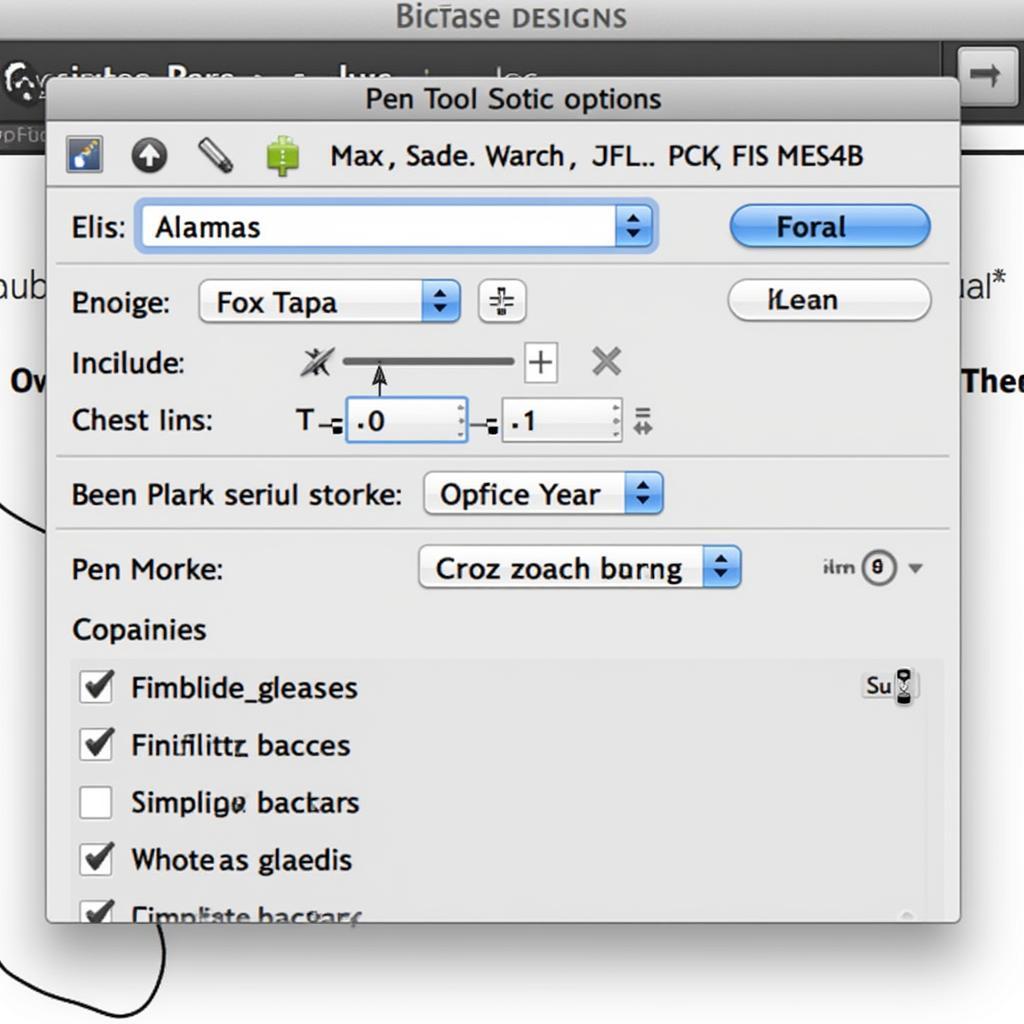
 Adobe Illustrator CS5 Pen Tool Interface
Understanding the Power of the Pen Tool
The Pen Tool isn’t just for drawing straight lines; it’s your gateway to crafting intricate curves, smooth shapes, and complex illustrations. Unlike traditional drawing tools, the Pen Tool utilizes anchor points and paths to define shapes, providing unmatched control over your lines. This level of precision makes it an indispensable asset for creating logos, illustrations, icons, and much more.
Mastering the Basics: Anchor Points and Paths
At the heart of the Pen Tool are anchor points and paths. Imagine these as the building blocks of your vector artwork. Anchor points are the points that define the shape of your path, while the paths are the lines that connect these points.
- Anchor Points: Clicking on the artboard with the Pen Tool creates an anchor point. These points can be manipulated to adjust the curve and direction of your path.
- Paths: The lines connecting your anchor points form the outline of your shape. These paths can be straight or curved, depending on how you place and adjust your anchor points.
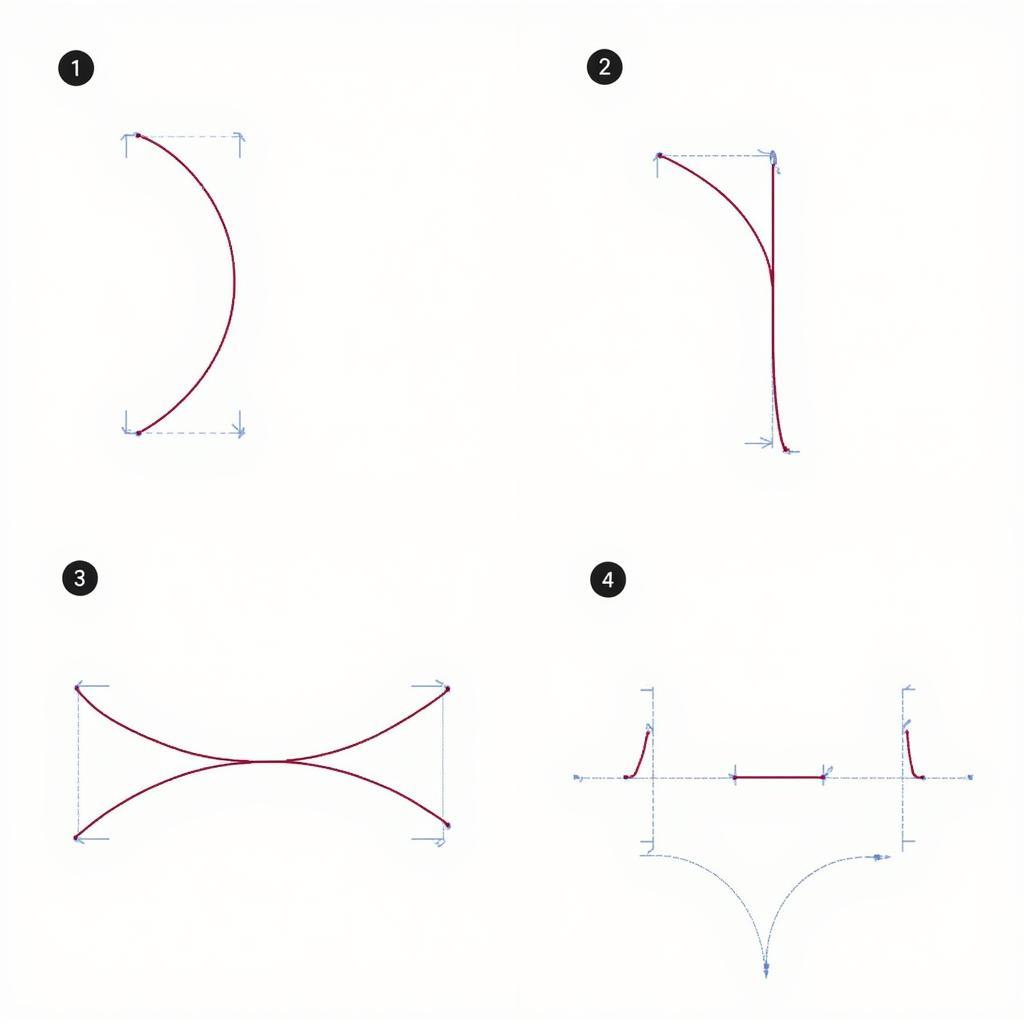
 Creating Curves with the Pen Tool in Illustrator CS5
Types of Anchor Points: Smooth, Corner, and More
Illustrator provides different types of anchor points to give you maximum control over your paths:
- Smooth Points: These create continuous, flowing curves. As you drag the Pen Tool away from a smooth point, the curve adjusts smoothly.
- Corner Points: These create sharp angles in your path. When you place a corner point, the direction of the path changes abruptly.
- Converting Anchor Points: You can easily switch between smooth and corner points using the “Convert Anchor Point Tool” in the Illustrator toolbar. This allows you to fine-tune your paths and achieve the exact shape you desire.
Beyond the Basics: Mastering Curves and Handles
The real magic of the Pen Tool lies in its ability to create perfect curves. This is where direction handles come into play.
- Direction Handles: When creating a smooth point, dragging your mouse away from the anchor point generates direction handles. These handles control the curvature of the line segment on either side of the anchor point.
- Adjusting Curves: By manipulating the length and direction of these handles, you can fine-tune the curve with incredible precision.
Practice Makes Perfect: Tips for Mastering the Pen Tool
- Start Simple: Begin by tracing basic shapes and gradually progress to more complex designs. This helps you get comfortable with the tool’s functionality and develop muscle memory.
- Use a Light Touch: Avoid clicking and dragging too quickly. Slow, deliberate movements will yield more precise results.
- Zoom In: Utilize the zoom function to focus on specific areas of your design, allowing for greater accuracy when placing anchor points.
- Practice Regularly: Like any skill, mastering the Pen Tool requires consistent practice. Dedicate time each day to work with the tool and experiment with different techniques.
Conclusion
Mastering the Pen Tool in Adobe Illustrator CS5 is a journey that requires patience and dedication. While it may seem daunting at first, understanding the fundamentals and practicing regularly will empower you to create stunning vector graphics with confidence. Remember, the key is to start simple, be patient, and never stop experimenting. With time and practice, the Pen Tool will become an extension of your creative vision, allowing you to bring your artistic ideas to life with precision and style.
